Root Cause Analysis or RCA:
Root Cause Analysis is a frequently used and Popular Method to aid in catching the exact reason for a problem. It will help you to find out the primary cause of the problem so that we can determine what happened, and why it happened and also formulate the Prevention so that the problem will not occur again.
It’s a vital part of the Continuous Improvement.
Why-Why Analysis and 7-QC tools are the key inputs to execute the RCA.
Root Cause Analysis Process:-
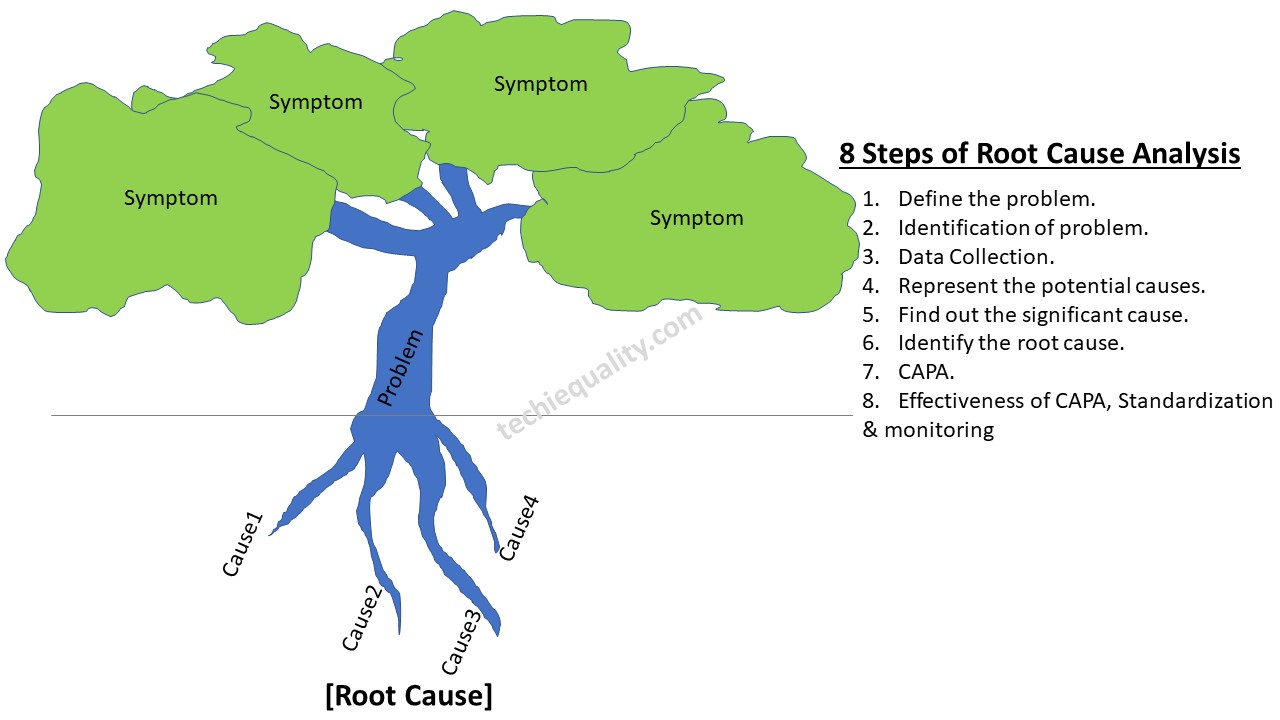
Root Cause Analysis has Eight Steps:
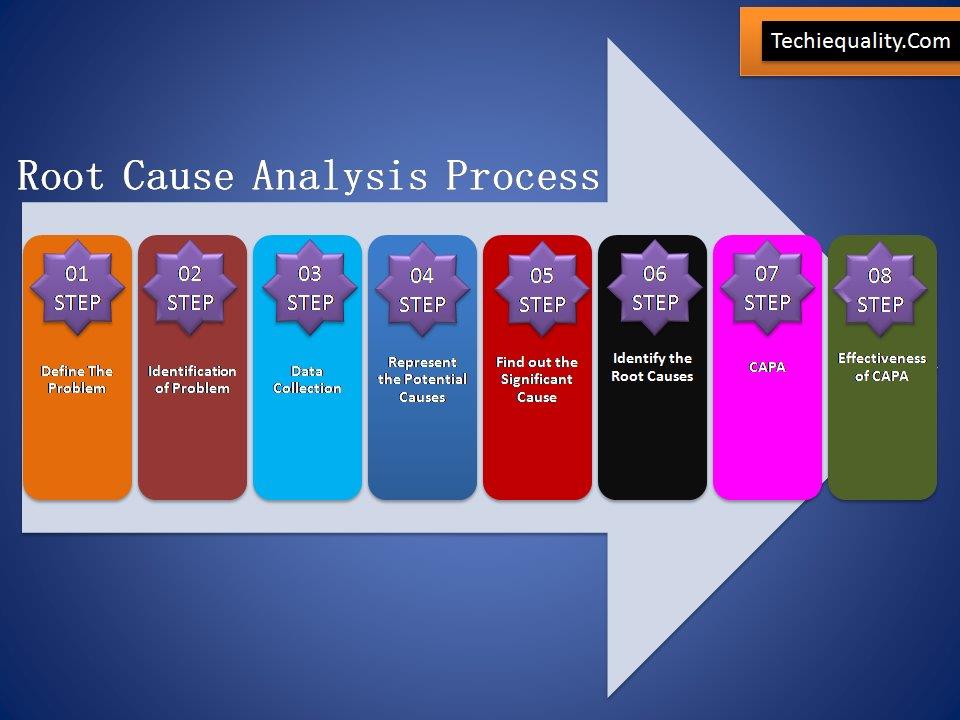
Step One:
Define the Problem: – This step will help you to understand the problem definition.
Step Two:
Identification of Problem: – What exactly happening, Where the problem is being occurred and what are the symptoms of the problem?
Step Three:
Collect Data – Before collecting the Data, You have to plot the Pareto Chart of Existing Past data for the last six months at least. Then formulate the template according to the higher contributing causes with the help of the Pareto Principle (80/20 rules). Set up the Template machine-wise, process-wise, and shift-wise etc. At least collect the data for three months.
Download [Pareto Chart Template].
Step Four:
Represent The Potential Cause: – Now you have to plot the Pareto chart with the Present collecting data. Next, to apply the Pareto principle to identify the Problems among the set, that are coming under the 80% contribution.
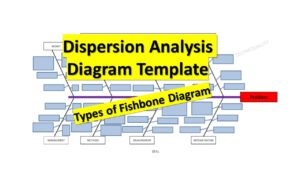
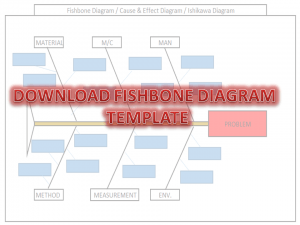
All Problems that are coming under the 80% contribution need to be plotted in the Fishbone Diagram individually to represent the Potential Causes.
Download [Fishbone Diagram Template].
Step Five:
Find out the significant Causes: A hypothesis test needs to be executed here to find out the significant reasons.
For example, let us take the Shrinkage as the problem, which is coming under the 80% contribution (The decision will come from the Pareto chart considering its Principle rules). Let Shrinkage has three potential causes [1] High Pouring Temperature, [2] Wrong Gating System Design, [3] High Carbon Equivalent. To find out the significant causes of the three problems. We have to do the Hypothesis test as per the below pattern as
[1] High Pouring Temperature vs. Shrinkage.
[2] Wrong Gating System Design vs. Shrinkage
[3]High Carbon equivalent vs. Shrinkage.
After doing the hypothesis testing as per the above pattern, one or a number of causes will come to the point as significant Causes.
Now you have to follow step six to identify the Root Cause.
Step Six:
Identify the Root Causes:-
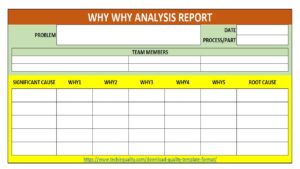
Before you execute the root cause identification. List all significant causes. Thereafter, we have to do the Why-Why Analysis of all individual significant causes until to get the Root Causes. Once you completed the 5-whys analysis try to document these in why why analysis template.
Step Seven:
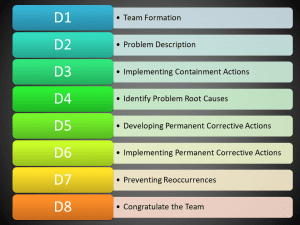
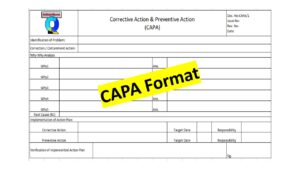
CAPA: Corrective and Preventive Action Plan to be Prepared.
Click here to learn more about the CAPA Process.
Download [CAPA Format / Template].
Step Eight:
Effectiveness of CAPA: – After implementation of CAPA, Trend Analysis needs to be plotted to figure out the effectiveness of CAPA or Action Plan. If the Action Plan is fully effective then the control mechanism and action plan need to the incorporated in relevant documents (e.g. FMEA, SOP, Control Plan, etc.).
Download [Root Cause Analysis PPT].
Root Cause Analysis Tools:
[1] Pareto Chart
[2] Fishbone Diagram
[3] Hypothesis tools
[4] 5 Whys
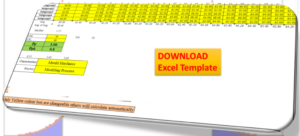
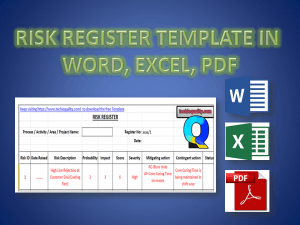
RCA Template, Format: Download– RCA format in Excel | RCA template Word | PDF Format
Root Cause Analysis Examples
RCA or root cause analysis is a very important methodology to identify the root cause of any problem, issues, defects, non-conformities, customer complaints, warranty analysis, variation, deviation, abnormal activities, etc. There are many improvement projects being implemented in manufacturing industries such as the six sigma project, Quality Circle project, Kaizen, and small group activity project, where RCA is a vital milestone to successfully achieve the project goal. Proper RCA will help you to address the root cause for formulating the action plan to resolve the problem. You can follow the below 8 steps to do the proper RCA.

Before taking any example, we are going to know the tools used in RCA, for the problem statement i.e. [problem definition and identification] you can use the 5W1H or 5W2H tools. similarly, we have mentioned the tools used in the rest of the RCA steps are given below;
| 8 steps of RCA | Common Applicable Tools & Template |
| Define the problem | 5W1H or 5W2H |
| Identification of the problem | 5W1H or 5W2H |
| Data collection | Data collection Format, Pareto chart, etc. |
| Represent the potential cause | Fishbone or Cause & Effect or Ishikawa diagram |
| Find out the significant cause | Hypothesis test, validation of potential causes |
| Identify the root cause | Why-Why analysis [5W analysis] |
| CAPA | CAPA template, 8D, etc. |
| Effectiveness of CAPA, standardization & monitoring | Inspection report template, SOP, WI, CP, FMEA, etc. |
RCA Examples:
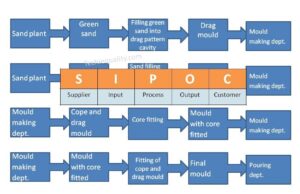
Let’s consider a company manufacturing automobile parts and supplying those parts to OEM customers, but one day one complaint was received from the customer for a blow hole problem. for the same problem, the customer asked for an action plan. To resolve the problem and form an action plan the process QA engineer started the RCA [root cause analysis] of blow hole issues. They have followed the above steps for RCA and the same is given below.
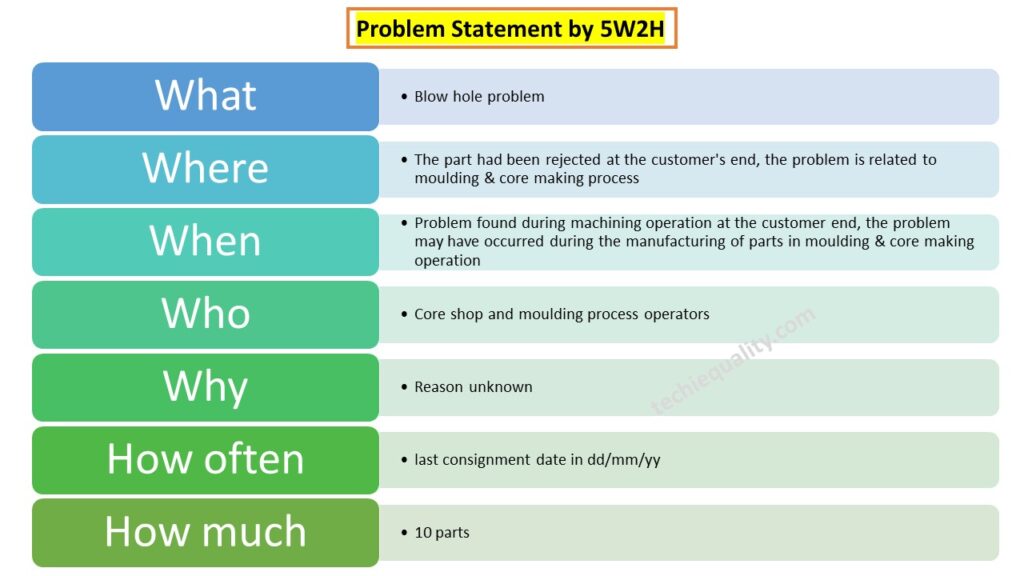
Problem Statement:
What: Blow hole problem
Where: The part had been rejected at the customer’s end, the problem is related to moulding & core making process
When: Problem found during machining operation at the customer end, the problem may have occurred during the manufacturing of parts in moulding & core making operation
Who: Core shop and moulding process operators
Why: Reason unknown
How often: last consignment date in dd/mm/yy
How much: 10 parts
Now, with the help of a cause & effect diagram, we have to identify the potential causes for the blow hole problem, below are the listed potential causes but these are not limited to
- Wet core fitted in moulding.
- Inadequate venting system.
- Wrong gatting system
- High moisture in mould
- sand permeability issue
- Thick mould coating.
We plotted a cause-and-effect diagram using the above potential causes, and we show the diagram below;
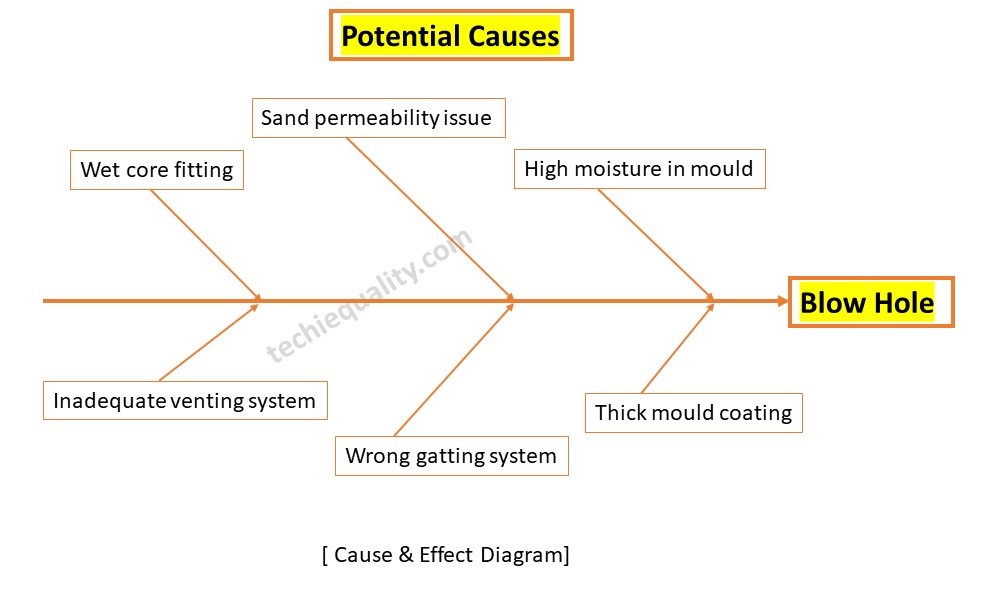
Now, we have to find out the significant cause with the help of a hypothesis test or validation of potential causes. after doing the validation of all the above potential causes by following the validation methodology, we found that “wet core” was the significant cause. so the next step is the identification of the root cause.
RCA of blowhole by why-why analysis:
SC: Wet core fitted in moulding
Why: Core was wet
Why: The team did not follow the drying procedure properly.
Root Cause: Lack of awareness
After doing the root cause analysis, you have to formulate the CAPA and need to monitor the effectiveness of the action plan. then you can standardise the document and if applicable you can do the horizontal deployment of the same.
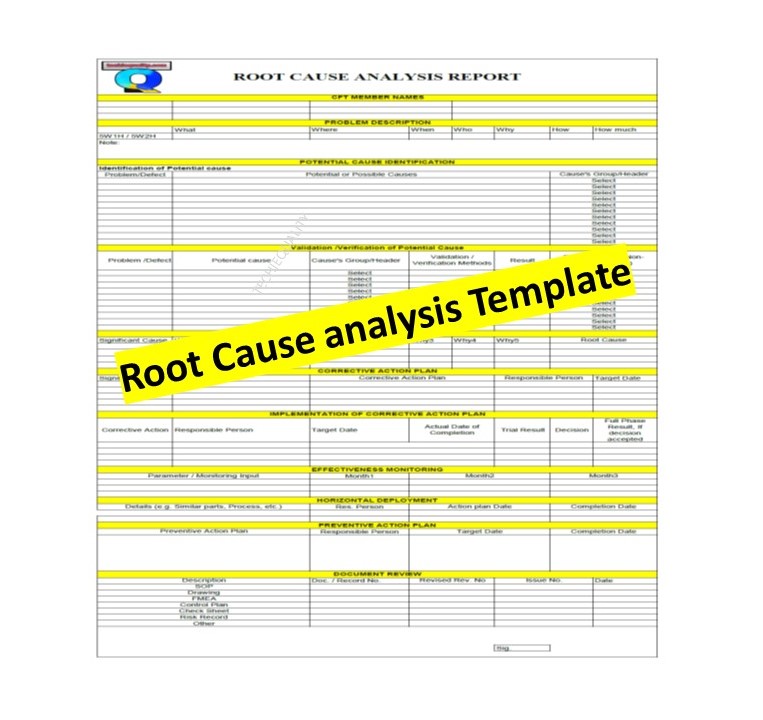
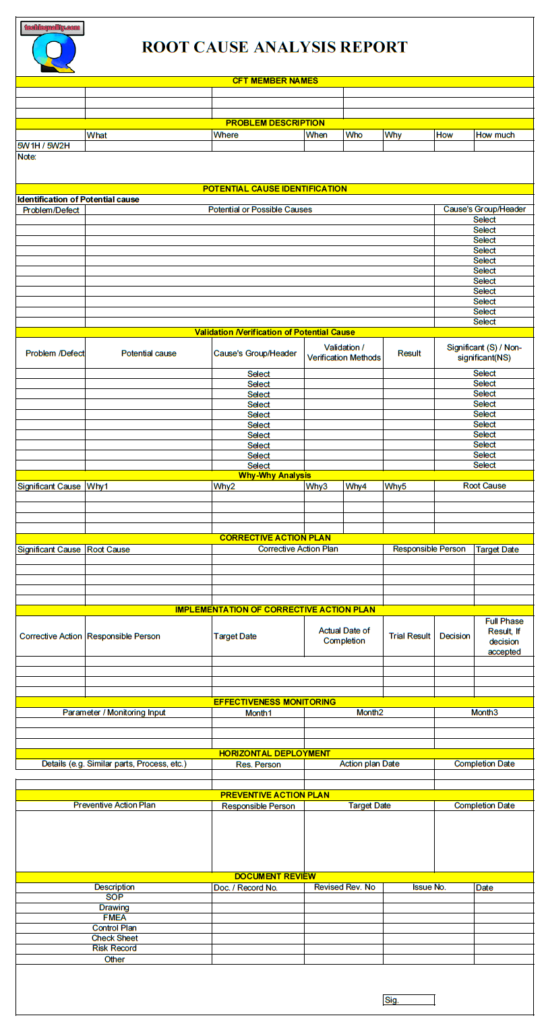
Root Cause Analysis Template – Download
Many tools, techniques, templates, and formats help conduct root cause analysis, but here we will discuss only some common and popular ones listed below.
- 7QC tools:
- Pareto Chart template.
- Cause & Effect diagram template.
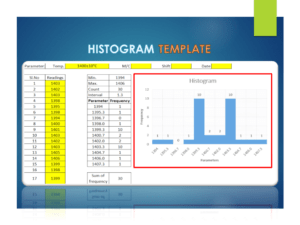
- Histogram template or format
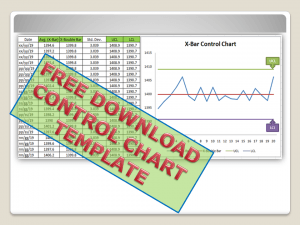
- Control Chart
- X-MR
- X bar-R
- X bar-S
- np
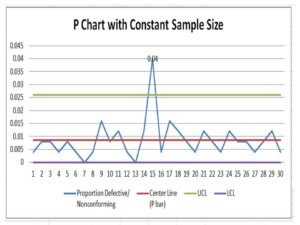
- p-chart template
- u
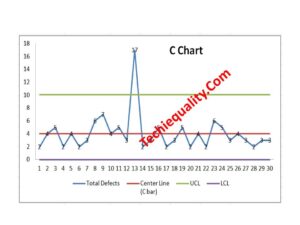
- c-chart template
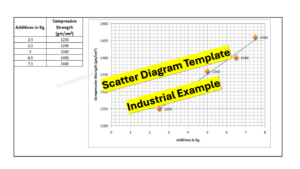
- Scatter Diagram Template
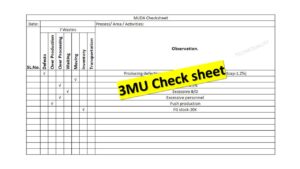
- Check sheet format
- Stratification
- 5 whys analysis
- Why-Why Analysis Template.
- Problem Statement formats
- CAPA Format
- 8D Template
FAQ:
1. What is Root Cause Analysis (RCA)?
Root Cause Analysis is a systematic process for identifying the root causes of a problem rather than just addressing symptoms, enabling effective corrective action.
2. Why RCA Matters
RCA matters because it:
- Prevents recurrence of problems
- Improves process reliability.
- Reduces costs from rework, failures, and incidents
- Supports continuous improvement and learning
- Encourages fact-based decision-making
- Strengthens accountability without blame
3. When to Use RCA
RCA should be used when:
- A significant incident or failure occurs
- There are repeated or chronic problems
- A problem has high risk, cost, or impact
- Regulatory, safety, or quality requirements demand it
- A process deviation leads to undesired outcomes
- You need to understand system weaknesses, not just fix an error
4. When RCA is Useful
RCA is especially useful when:
- The problem is complex or multi-factorial
- The cause is not immediately obvious
- Multiple teams or processes are involved
- You need long-term corrective actions
- Data, evidence, and subject matter experts are available
5. Benefits of RCA
- Identifies true root causes, not symptoms
- Leads to sustainable corrective actions
- Improves process design and controls
- Enhances organizational learning
- Reduces repeat incidents
- Strengthens risk management
- Builds a culture of improvement
6. Limitations of RCA
- Time- and resource-intensive
- Results depend on data quality
- Can be ineffective if:
- Poorly facilitated
- Politicized or blame-focused
- Not ideal for:
- Simple, one-off issues
- Situations requiring immediate action only
- May miss causes if the system boundaries are too narrow
7. Best Practices for Effective RCA
a. Define the Problem Clearly
- Be specific, factual, and measurable
- Focus on what happened, where, when, and the impact
b. Focus on Systems, Not People
- Ask why the system allowed the error
- Treat human error as a symptom, not a root cause
c. Use Structured Tools
Common RCA tools:
- 5 Whys
- Fishbone (Ishikawa) Diagram
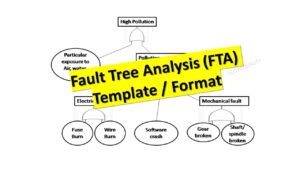
- Fault Tree Analysis
- Pareto Analysis
- Process Mapping
- 7QC Tools
- CAPA
d. Use Evidence and Data
- Rely on facts, records, observations, and timelines
- Avoid assumptions or opinions
e. Involve the Right People
- Include process owners and subject matter experts
- Encourage open, blame-free discussion
f. Identify Root Causes, Not Just Contributing Factors
- Validate that removing the cause would prevent recurrence
g. Develop Strong Corrective Actions
Effective actions:
- Address the root cause directly
- Are measurable and realistic
- Include ownership and deadlines
- Prefer engineering or system controls over training alone
h. Verify Effectiveness
- Monitor outcomes
- Confirm the problem does not recur
- Adjust actions if needed
8. Common Mistakes in RCA
- Stopping at human error (operator mistake)
- Jumping to solutions before analysis
- Confusing symptoms with root causes
- Asking “why” too few times
- Lack of data or evidence
- Bias, blame, or fear affecting honesty
- Poor documentation
- Weak corrective actions.
- No follow-up to verify effectiveness
Useful Articles:
7QC Tools For Problem Solving.
8D Report Example | Download Case Study Report:
Free Tools, Formats, Templates:


More on TECHIEQUALITY


Shanti Gopal Pradhan is an experienced professional in Quality Management Systems, QA, Operations, Business Excellence, and Process Improvement. He has strong expertise in international standards including IATF 16949, ISO 9001, ISO 14001, ISO 45001, and ISO 17025, along with methodologies such as TQM, TPM, and Six Sigma.
He holds a degree in Mechanical Engineering along with an MBA, combining strong technical acumen with strategic business insight, he is a Certified Internal Auditor, Lead Auditor, and Six Sigma Black Belt, with a proven track record in driving quality transformation and operational excellence.